Ranunculus & Anemone Growing Tips

Ranunculus & Italian Ranunculus
When to Plant: If you live in growing zone 7 or above, your ranunculus can be planted in the fall and overwintered outdoors with a little protection from freezing (below 28 degrees). We grow ours in unheated hoop houses that we close when the weather is below freezing. You can protect your corms from extreme temperatures by covering them in a heavy leaf mulch or frost cloth (we recommend Agribon.) Ranunculi like to be tucked in when temperatures drop below about 28 degrees.
If you live in a colder zone, you can start your plants indoors in late winter and move them outside when the threat of a deep freeze is passed, usually about 6 to 8 weeks before the last frost date your area expects.
How to Start Your Corms:
Soaking: When you unpack your ranunculus corms, you will see that they resemble little brown, dried out octopuses. This is normal. Before planting, soak your corms for 3 to 4 hours in room-temperature water, leaving the water running just slightly during the process to help provide extra oxygen. At the farm, we soak the corms in a wheelbarrow with a fish aquarium bubbler in the water to provide air infusion. The oxygen infusion is very important. As the corms soak, they will plump up to a bigger size.
Pre-sprouting: We recommend pre-sprouting your corms to help them get a healthy start. To pre-sprout, fill a flat-bottom seed tray (or any low sided container) with about 1 inch of moist (but not wet) potting soil or peat moss.
Set the soaked corms onto the soil bed, octopus legs down. Cover the corms with more soil until they are completely covered. Leave this tray in a cool place (55 to 65°F), where rodents can't find them. No light is needed at this stage.
Check your corms every few days to make sure the soil is still damp. Mist with water if needed to maintain a moist, but not soaking wet medium. If a corm shows mold or rot, remove and discard it. Within 10 to 14 days, your corms will sprout white rootlets. YAY!
If nothing seems to be happening - put them in a warmer spot and they will sprout.
Planting: When the roots are about ¼ to ½ inch long (you can pull up a corm to check) it is time to plant! The better quality of your soil, the happier your corms will be – so prepare your planting area well. We add a generous dose of organic compost (2-3 inches) and a sprinkle of balanced organic fertilizer (we use Nature's Intent 7-2-4) and mix the compost and fertilizer thoroughly into the soil.
In the field, we plant corms 9 inches apart at a depth of 2-3 inches, with the octopus legs pointing down. If you prefer, you can grow them in pots as close as 5 inches apart.
Water them in well when planting. In the PNW, we wait to water again until green shoots appear … but if your climate is quite dry – you may need to water to maintain light moisture for the plants in this early growing period. The goal is to have them sprouting in damp soil. Soggy soil will rot the corms.
Freezing Weather / Rodents: During freezing weather, be sure to cover your plants to insulate them from the cold. We use frost cloth, but a good mulch of leaves will work too. Remove the mulch/cover when the temperatures get above freezing.
On our farm, we have voles (my nemesis!) During the winter, hungry rodents think ranunculus corms are like candy. We protect our corms by planting them in a raised bed with hardware cloth bottoms and tops stapled securely. It is extreme, I know, but it completely protects this precious crop from harm.
When the plants grow enough to push up on the screen, we remove the top and the plants thrive. Voles don’t seem to bother the plants once the leaf out.
When growing at home, you could try planting your corms in pots to keep them out of harms way until spring. Ranunculus transplant well.
Flowering Time: Ranunculus start to flower 90 to 120 days after planting. Fall-planted corms bloom in early spring and continue steadily for six to eight weeks. Late winter-planted corms will flower by mid-spring and continue for four to six weeks. Ranunculi die back naturally when soil temperatures get too warm.
Saving Your Corms for Next Year: Allow your ranunculus plants to yellow and die back naturally. Stop watering. When the foliage has died back, you can lift the corm, shake off the dirt, snip off the withered plant and store the corm in a paper back until next year – when you can plant them again. If you are lucky – your plants will make some baby corms for you too!
Grower Tricks & Tips: Ranunculus are wonderful plants and fairly easy to grow. They like:
Soil - Plant in well-drained soil
Sun – full sun is usually best. If your climate is warmer than the PNW, adding a little shade can help prolong the blooming period by cooling the soil.
Water - Water well when planting the corms; don’t overwater during early growing (to prevent corm rot) and then water regularly as needed during growing season.
Pests – aphids sometimes like to attack ranunculus. Aphids can be sprayed off with water. You can add ladybugs to your plants. Aphids generally mean the plants need sugar - and you can just lightly water each plant with very diluted black strap molasses (a little goes a long way) and watch the aphids disappear.
Nutrition – we like to use a foliar compost tea spray weekly during the growing/blooming season. They will need extra nutrition during the growing season to help maximize the bloom quantity and size. Any fertilizer that promises “bloom” food will work well.
Vase Life and Arranging: The vase life of ranunculus is incredible - often exceeding 10 full days. We cut our flowers at the marshmallow stage for wholesale sales – when the bud is colored and feels squishy when squeezed. This gives us the longest vase life.
However, when using ranunculus for arrangements, I love to harvest some at the fully open stage. The flower will be a bit bigger and I find the color can be better as well.
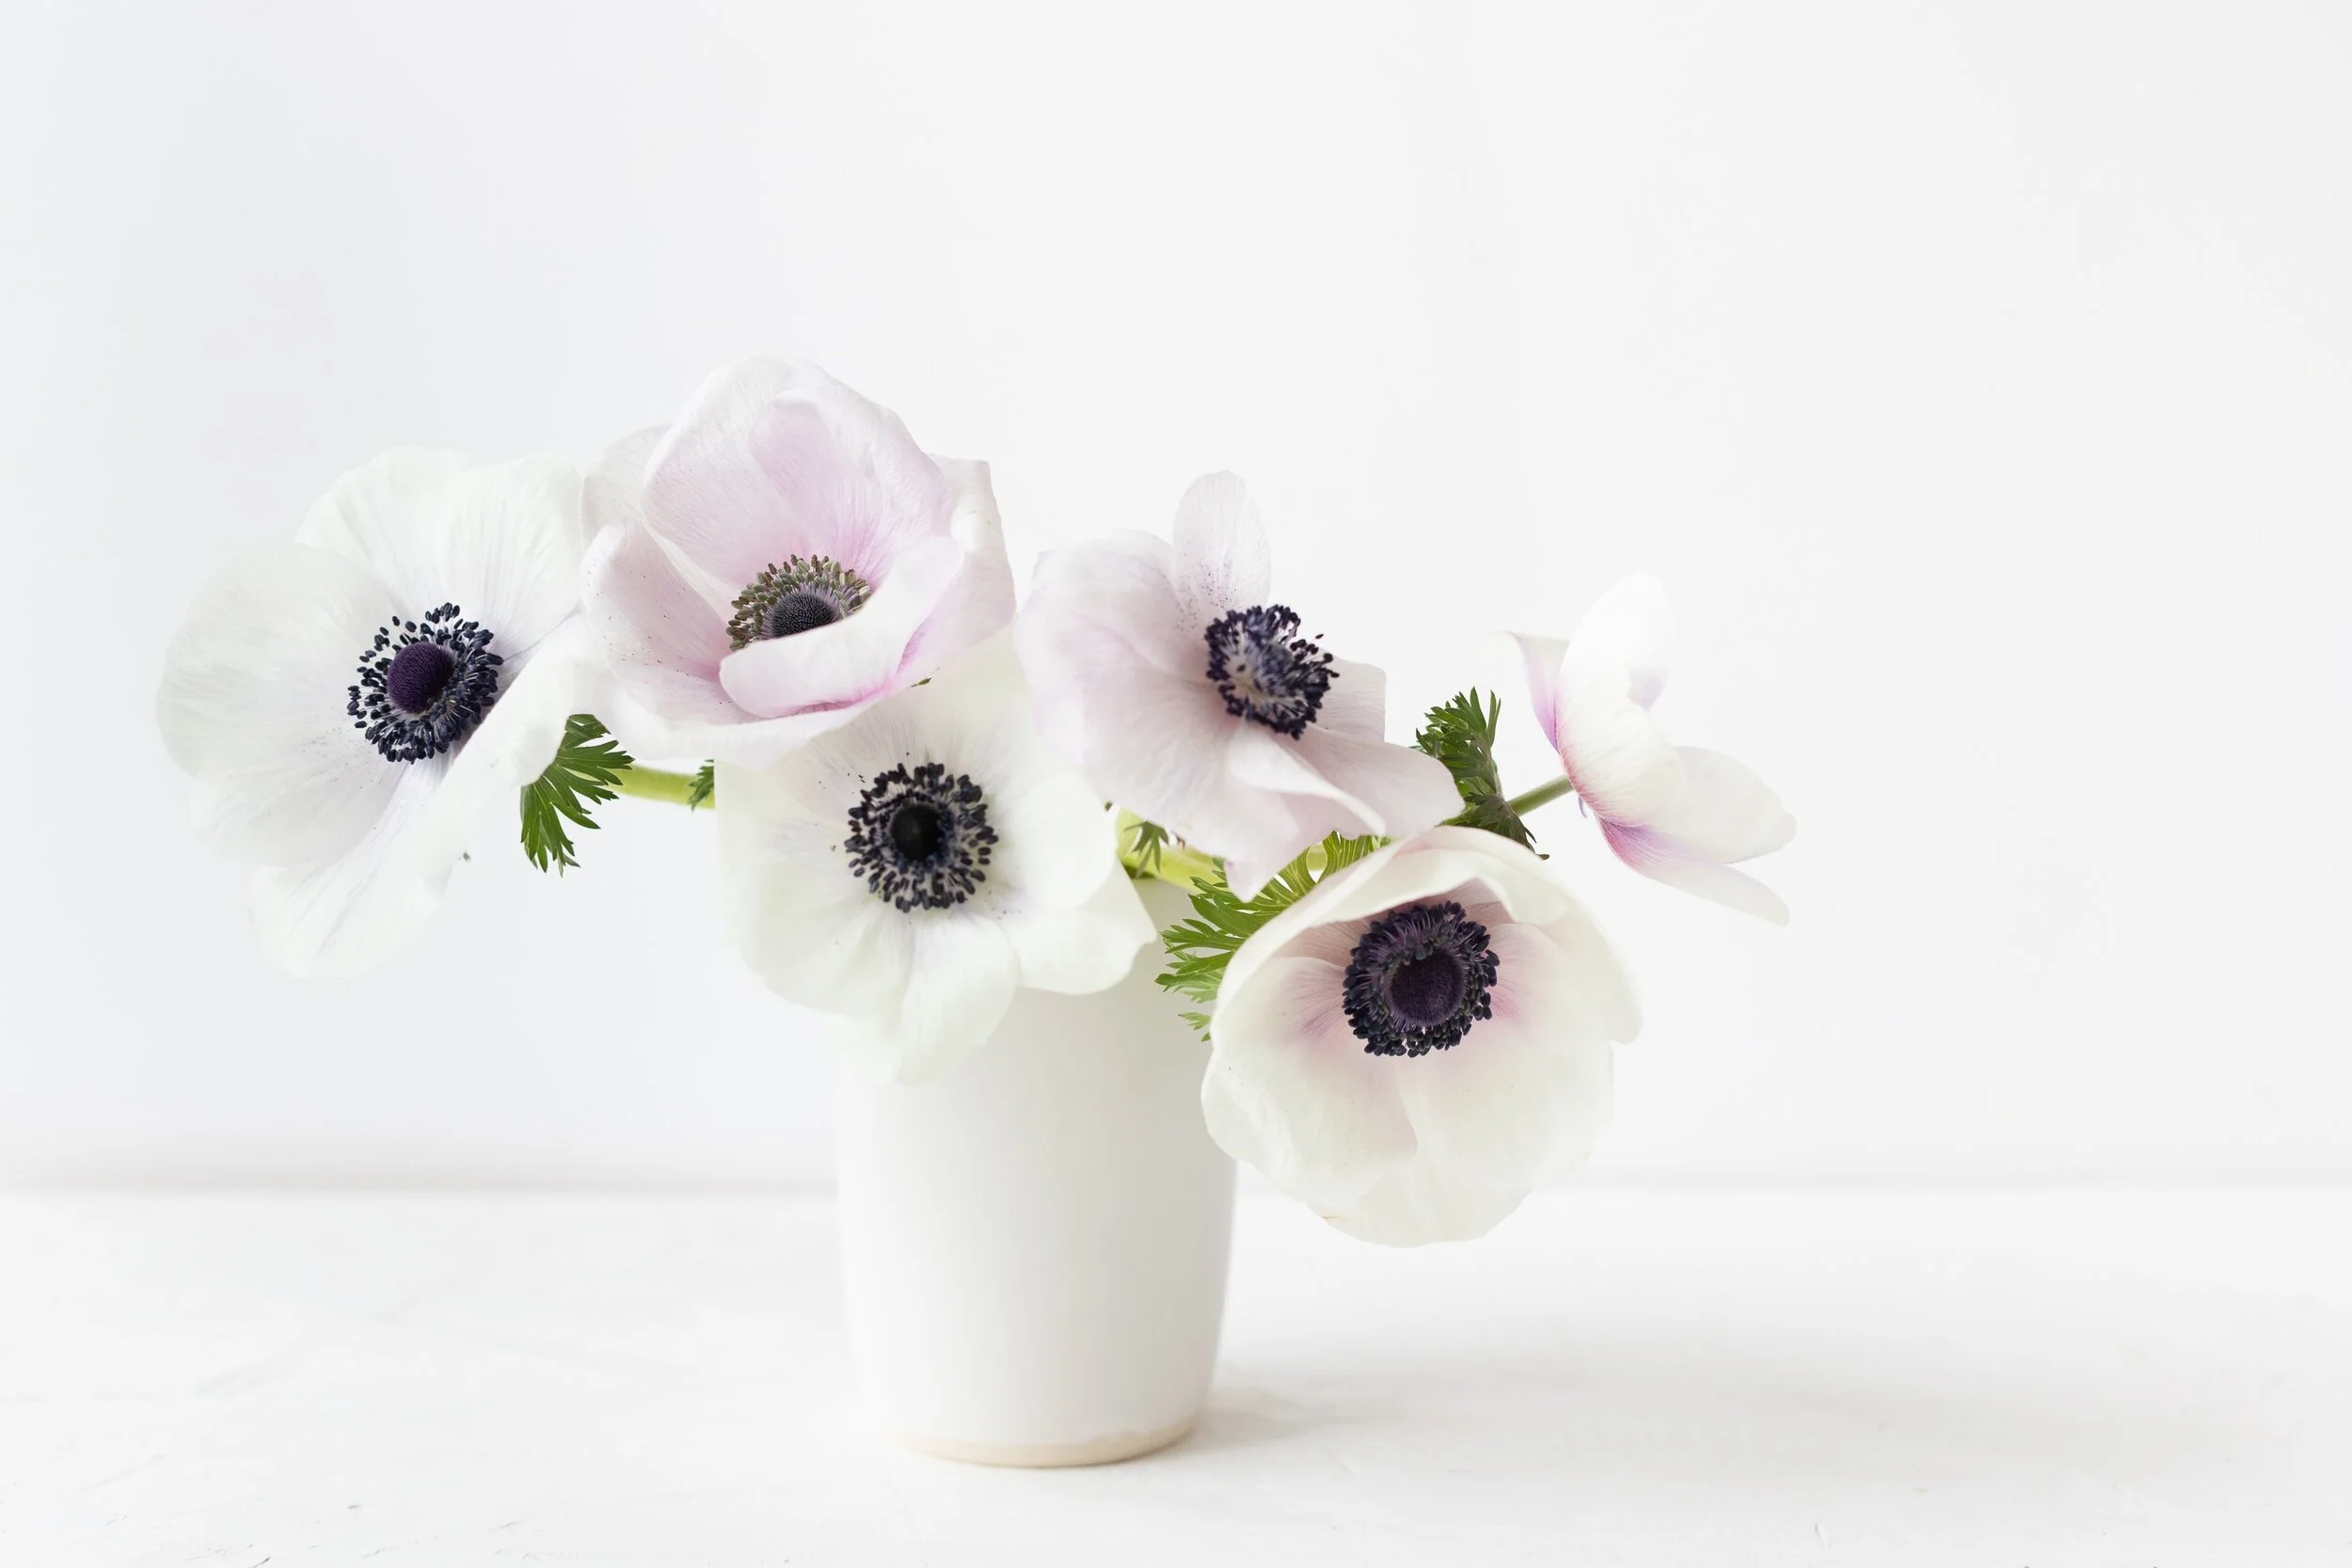
Anemones
When to Plant: If you live in growing zone 7 or above, your anemones can be planted in the fall and overwintered outdoors with a little protection from freezing (below 25 degrees). We grow ours in unheated hoop houses that we close when the weather is below freezing. You can protect your corms from extreme temperatures by covering them in a heavy leaf mulch or frost cloth (we recommend Agribon.) Anemones like to be tucked in when temperatures drop below about 25 degrees - but they are amazingly resilient.
If you live in a colder zone, you can start your plants indoors in late winter and move them outside when the threat of a deep freeze is passed, usually about 8 weeks before the last frost date your area expects.
How to Start Your Corms:
Soaking: When you unpack your corms, you will see that anemones resemble small acorns with a point at the bottom. Before planting, soak your corms for 4 hours in room-temperature water, leaving the water running just slightly during the process to help provide extra oxygen. At the farm, we soak the corms in a wheelbarrow with two fish aquarium bubblers in the water to provide air infusion. The oxygen infusion is very important. As the corms soak, they will plump up to a bigger size.
Pre-sprouting: We recommend pre-sprouting your corms before planting to help them get a healthy start. To pre-sprout, fill a flat-bottom seed tray (or any low sided container or tray) with about 1 inch of moist potting soil. Set the soaked corms, point down, into the soil bed. You can lay them very close to each other, but not quite touching.
Then cover the corms with more soil until they are completely covered. Leave this tray in a cool place (55 to 65°F) to root. If you leave the trays outside – be sure to protect them from rodents. No light is needed at this stage.
Check your corms every few days to make sure the soil is still damp. Mist with water if needed to maintain a moist, but not soaking wet medium. If a corm shows mold or rot, remove, and discard it. If nothing seems to be happening after a week – you can move them to a little warmer spot to stimulate rooting.
Within 10 to 14 days, your corms will sprout white rootlets. YAY!
Planting: When the rootlets are about ¼ to ½ inch long (you can pull up a corm to check) it is time to plant!
The better quality of soil, the happier your corms will be – so prepare your planting area well. We add a generous dose of organic compost (2-3 inches) and a sprinkle of balanced organic fertilizer (we use Nature's Intent 7-2-4) and mix the compost and fertilizer thoroughly into the top layer of soil. If you have clay, or compacted soil – use a digging fork to loosen the soil before planting. We want those roots to grow deep.
You can also plant corms in pots for patio plants.
Corms are planted 8 inches apart at a depth of 2-3 inches. Water them in well when planting. In the PNW, we wait to water again until green shoots appear … but if your climate is quite dry – you may need to water to maintain light moisture for the plants in this early growing period. They can be prone to rot and fungal infections – so well drained soil and not overwatering makes them happy.
A few weeks after you’ve planted your corms you will see a bit of green growth. Be patient. Below the soil your plants on putting on lots of roots but they won’t grow a lot of green tops until early spring.
Freezing Weather: During freezing weather (25 degrees or below) be sure to cover your plants to insulate them from the cold. We use frost cloth, but a good mulch of leaves will work too. Remove the mulch/cover when the temperatures warm.
Rodents: On our farm, we have voles (my nemesis!) During the winter, hungry rodents think corms are like candy. We protect our corms by planting them in a raised bed with hardware cloth bottoms and top, stapled down. It is extreme, I know, but it completely protects this precious crop from harm. When the plants grow enough to push up on the screen, we remove the top and the plants thrive.
If you have rodents in your garden, you can try planting your corms in pots or wire bulb baskets planted in the ground to keep these pests away.
Flowering Time: Anemones & Ranunculus start flowering about 90 to 120 days after planting. Fall-planted corms bloom in early spring and continue steadily for six to eight weeks. Late winter-planted corms will flower by mid-spring and continue for four to six weeks. Anemones die back naturally when soil temperatures get too warm.
Saving Your Corms for Next Year: Yes – you can save your plants for next year. You can leave them in the ground, but we dig them up, let them air dry and store them over the summer in our shed.
Allow your plants to yellow and die back naturally. Stop watering. When the foliage is dying back. When ready - you can lift the corm, shake off the dirt and store them away in a paper bag until next year – when you can plant them again. If you are lucky – your plants will make some baby corms for you too!
Grower Tricks & Tips:
Soil - Plant in well-drained soil
Sun – full sun is usually best. If your climate is warmer than the PNW, adding a little shade can help prolong the blooming period by cooling the soil. If your climate is hot – then try planting in light shade to prolong your season.
Water - Water well when planting the corms; don’t overwater during early growing (to prevent corm rot) and then water regularly as needed during growing season.
Pests – Generally they grow pest free.
Nutrition – we like to use a foliar compost tea spray weekly during the growing/blooming season. They will need extra nutrition during the growing season to help maximize the bloom quantity and size. Any fertilizer that promises “bloom” food will work well.
Fungus: Anemones seem to be resistant. Just don’t overwater until the plants have green growth.
Vase Life and Arranging: The vase life of anemones is incredible - often exceeding 10 full days.
Harvesting: We cut our flowers when the “green fringed collar” is about ¼ inch below the flower. Another tip is to let the flower open and close for 2 days before cutting. That said – we have harvested anemones much later in the bloom cycle and they still make a wonderful show.

Butterfly Ranunculus
Follow the same instructions as for ranunculus except….
Butterfly Ranunculus corms are much bigger - sometimes 5 or 6 time bigger than regular ranunculus.
Rooting Stage:
They like deeper soil so all their legs are covered.
Consistently damp soil - they dry out more quickly then regular ranunuclus.
A longer spouting time - sometimes an extra week past regular ranunculus.
Growing Stage:
They are much larger plants - so space them at 12 inches.
They take a bit longer to bloom than regular ranunculus and often continue blooming for a week or two beyond their smaller cousins.
Enjoy!